That sharp beep can feel annoying, until you hear it at the exact right time. In one family, a smoke detector went off during the night while a pan on the stove smoldered. By the time they noticed, they still had a clear path to get outside safely.
That’s what smoke detectors work to do. They act as your home’s first line of defense, spotting smoke early and giving you time to escape. No fancy tech is required, either. Most units simply look for smoke particles in the air and then trigger an alarm.
In simple terms, there are two main types, and each one “sees” smoke in a different way. You’ll also learn what happens inside the detector, why it chirps, and how to place it so it can actually protect you. Let’s break it down step by step.
The Two Main Types of Smoke Detectors and What Makes Them Tick
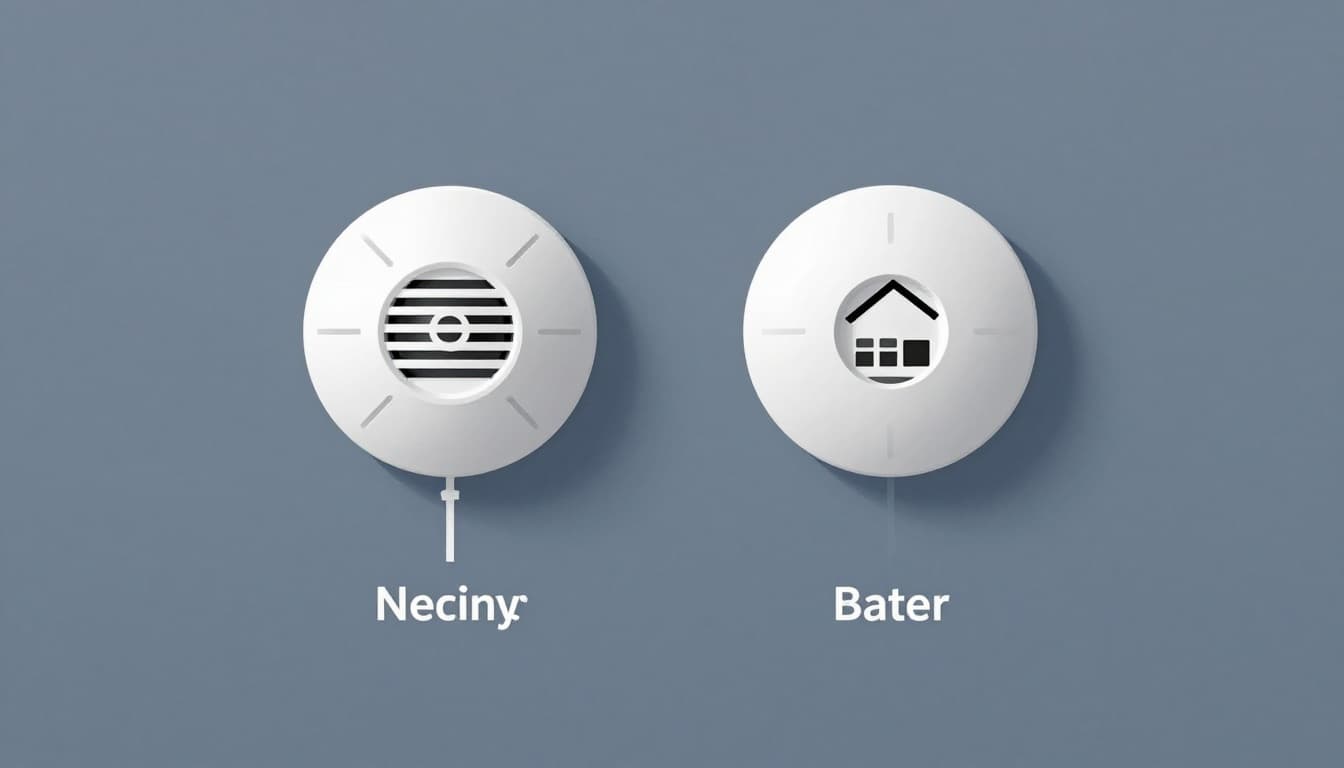
Most homes use one of two sensing methods: ionization or photoelectric. They both respond to smoke, but they react to different fire behaviors.
- Ionization tends to respond faster to flaming fires.
- Photoelectric tends to respond better to smoldering fires.
Neither type is perfect on its own. That’s why many homes use combination units (one box with both sensors) or install both kinds in different areas.
Here’s a quick way to compare them:
| Type of detector | What it’s better at | Typical reaction speed | Common drawback |
|---|---|---|---|
| Ionization | Fast, flaming fires | Often faster for small, hot flames | More false alarms near cooking steam |
| Photoelectric | Smoldering fires | Often catches slow smoke sooner | Can take longer to react to fast flames |
In plain English, ionization looks for smoke that disrupts an electrical flow in the chamber. Photoelectric looks for smoke that messes with a light beam.
If you want a practical explanation of how ionization alarms detect smoke, see what ionization smoke alarms do.
For full coverage, many fire-safety guides recommend having protection that works across more than one kind of fire. A combo unit can help because it covers both smoke styles in one device.
The big takeaway: if you only rely on one sensing method, you could miss your best detection window during a specific kind of fire.
Next, let’s look at what’s actually happening inside each sensor.
Ionization: Catching Those Quick Flaming Fires First
Ionization smoke detectors use a small chamber with two metal plates. Inside, there’s a tiny radioactive source, americium-241, which helps create a steady electrical current. The amount is extremely small and regulated, and it’s not meant to be tampered with.
The setup works like this:
- The detector sends current through air in the chamber.
- Air molecules become charged, forming ions.
- Smoke particles drift into the chamber.
- Smoke “sticks” to the ions.
- Fewer ions get through, so the current drops.
- The electronics notice the drop and trigger the alarm.
Think of it like a mini circuit in a box. When smoke enters, it breaks the flow. That change becomes a signal your detector can act on.

Because flaming fires often produce smoke made of smaller particles, ionization can respond quickly. That’s why you’ll hear it described as good for paper or grease fires that flare up.
However, cooking can create conditions that trick ionization units. Steam, grease mist, and airborne particles near the sensor can sometimes lead to nuisance alarms. In other words, ionization can be fast, but it’s also a bit more sensitive to certain everyday smoke sources.
If you want the official radiation-safety basics, the US EPA explains americium in ionization detectors.
Photoelectric: Spotting Slow Smoldering Fires Before They Spread
Photoelectric smoke detectors work differently. Instead of relying on an electrical current change, they use light.
Inside the chamber:
- A light source shines into a chamber.
- A sensor sits so it does not get direct light under normal conditions.
- Smoke enters the chamber.
- Smoke particles scatter the light in random directions.
- Some scattered light hits the sensor.
- The sensor detects that light pattern and triggers the alarm.
Here’s the simple analogy: imagine headlights in fog. The fog particles scatter the light, so the beams spread and bounce back. Photoelectric detectors use the same idea, except the “fog” is smoke.
Photoelectric detectors often catch smoldering fires earlier. That’s important because many real home fires start by smoldering, not blasting flames.
They can also cause fewer false alarms from normal kitchen steam compared to ionization units, depending on placement. Still, any detector can react if smoke or dust gets close enough to the sensor.
Simplicity helps here: photoelectric looks for smoke by watching how it changes light.
If you’re comparing both styles, photoelectric vs ionization in plain terms is a helpful quick read.
Step by Step: From Smoke Sensing to That Life-Saving Beep
Once smoke hits the detector chamber, the alarm follows a set flow. The key idea is that the sensor doesn’t just “hear” smoke. It measures a change and then confirms it’s real.
Here’s what happens in simple terms:
- Smoke enters the chamber
Air moves in and out as conditions change. When smoke particles reach the sensor area, detection begins. - The sensor notices a change
- Ionization: the electrical current drops.
- Photoelectric: scattered light reaches the sensor.
- The electronics check the signal
Most modern units filter noise, so random dust or brief flickers don’t always trigger alarms. - The alarm activates
The horn blasts, commonly 85 decibels or louder at a typical distance. It’s loud on purpose, because people might be asleep. - You get more than sound
Some detectors add a flashing light for hearing-impaired occupants. Many newer models also link to smart home systems. - The detector keeps watching
After the smoke clears, many detectors reset automatically. Some units have “hush” buttons to silence short, accidental alarms.
A big reason smoke alarms matter is timing. Recent data shows a lot of home fire deaths happen where alarms were missing or not working. When detectors are working, they help cut down risk because you get those crucial minutes to move.
If your alarm is silent during a real smoke event, the problem isn’t your luck. It’s usually a battery, missing maintenance, or placement that doesn’t match your home.
For installation and upkeep tips from a trusted source, read NFPA guidance on installing and maintaining smoke alarms.
Next comes the part most people skip: keeping detectors reliable.
Battery Life, Testing, and Easy Maintenance to Keep Them Reliable
Smoke detectors are simple machines, but they depend on you. If you ignore the chirp or skip testing, the sensor may still be good, but the alarm won’t be ready.
Start with battery types. Many older units use a 9-volt battery, and these often last about 6 to 12 months. Newer units frequently use sealed 10-year batteries, which means you replace the whole detector, not just the battery.
Either way, routine matters.

How to test your smoke detector (and what “good” sounds like)
Test your alarm about once a month. Use the test button. A working detector should sound immediately and clearly.
If it chirps, don’t ignore it. A chirp usually means the battery is low, and that makes the alarm unreliable during a real fire.
Maintenance that takes minutes
Dust is sneaky. Over time, dust can coat sensor areas and affect performance.
Use these habits:
- Vacuum the detector cover lightly using a brush attachment.
- Avoid sprays or paint, because those can clog or coat sensor parts.
- Check after heavy cooking or remodeling, when fine particles can build up.
- Replace the whole unit when it reaches its stated life, often 10 years.
- Never remove the battery “to stop chirping.” Fix the cause.
For more on battery timing and replacement schedules, how often to change smoke detector batteries is a useful reference.
A few quick “don’t do this” rules
Smoke alarms save lives, so don’t treat them like background noise. Avoid these common mistakes:
- Don’t disable the detector to stop nuisance beeps, then forget it.
- Don’t cover it with plastic during dusty projects.
- Don’t rely on just one detector for your entire home.
You might have the right device, but the wrong setup. That’s why placement is just as important.
Smart Placement and Installation for Top-Notch Home Protection
A smoke detector is only useful where it can detect smoke. Placement affects how fast smoke reaches the sensor. It also affects false alarms.
Most homes need alarms in these key areas:
- Every level of the home
- Inside sleeping areas
- Outside bedrooms, near the hallway
- Near stairways in larger homes
Many guides also recommend installing in other spaces where fires start, like hallways and finished basements, as long as temperature stays within the unit’s range.
Where on the ceiling should it go?
For ceiling-mounted detectors, a common guideline is to place them about 12 to 20 inches from walls or corners. If you place them too close to a corner, airflow can be weak there.
Also, install them so they’re not blocked by ceiling fans or covered fixtures.
Keep them away from trouble spots
Smoke detectors should detect smoke, not everyday steam and fumes. That means placement near:
- Kitchens (grease and cooking steam)
- Bathrooms (hot showers and humidity)
- Garages (dust and car fumes)
If a unit is too close, you may get nuisance alarms. Instead, choose a spot that matches how smoke moves in your home.
Interconnected alarms can multiply your warning
If one alarm senses smoke, interconnected units can trigger other alarms too. That means someone in another part of the home hears it, not just the person closest to the first detector.
For guidance on recommended locations, see recommended smoke alarm installation locations.
Hardwired with backup vs battery-only
When possible, many homeowners choose hardwired alarms with battery backup. They keep power from your home running the unit, while backup batteries protect you in an outage.
If you buy battery-only models, plan for more frequent battery checks.
A practical placement rule of thumb
If a detector is right where smoke will reach it first, it can warn you fast. If it’s in the wrong spot, it might still beep, but too late.
That’s also why it’s worth clearing up common myths about how smoke alarms work.
Debunking Myths and Glancing at New Tech Trends
Smoke detectors get blamed for nuisance beeps. Still, most myths are about assumptions, not reality.
Myth: “Ionization is always best.”
Ionization can be faster for certain flaming fires. Photoelectric can be better for slow smoldering smoke. Many homes get the best protection from both types or combo units.
Myth: “Ionization detectors use scary radiation.”
Ionization detectors use a tiny amount of americium-241. It’s regulated and designed to be safe for home use, and you should never tamper with it.
Myth: “My detector works only when I test it.”
Testing checks the alarm function. The sensor still has to be clean and powered. That’s why testing and maintenance matter.
On the tech side, newer models in 2026 often include smarter features, like app alerts and combo detection for smoke and carbon monoxide. Some units also aim to reduce false alarms by analyzing patterns, not just a single signal.
In short, the core idea stays the same: smoke changes what the detector measures, then the alarm system warns you loudly.
Conclusion
Smoke detectors work by sensing changes in the air, not by “smelling fire” like people do. Ionization responds to smoke that disrupts an electrical current, while photoelectric responds when smoke scatters light.
You’ll get the best results when you keep them reliable with monthly testing and clean, fresh power. Also, place detectors where smoke is likely to reach first, especially near bedrooms and sleeping areas.
If you want one simple next step, do it today: test every smoke detector in your home. Then check their ages and replace any that are near the end of their life. When that night-time beep sounds, you want it to mean safety, not surprise.